You guys! We are almost done with the Journey to Minimalism!
I almost can’t believe it- but am not gonna lie- I don’t miss constantly reorganizing and dealing with the temporary chaos. Ha!
But alas, we are nearing the end of it all and I couldn’t be more excited.
This week was the week I dreaded the most. My garage was absolutely ridiculous and needed some love and TLC big time.
Before we dive into all the details, let’s chat about the previous week’s progress.
Reflection on Part 1-3
The kitchen and pantry are still rocking it. The pantry stays so organized and everything has a very specific place in there. It’s been literally life changing. No joke! I’ve also been loving the cabinet organization- I still reach for things thinking they are in another spot, but I’m getting used to the layout.
The bedroom has been great. I’ve found myself keeping things put away really well because I have no where else to put stuff. 🙂 Mission accomplished!
The bathroom is still very new to me, but so far so good. I need to add a clothing hamper solution to keep my stuff off the ground and counter. I’m a bit lazy with that.
That leads me to this week’s project, part 4.
The Garage
So I’ve learned that I can’t seem to do anything without my whole heart and extra energy. Which is both good and bad. And this was the project I dreaded the most because it’s a ton of work.
Step 1: Clean EVERYTHING out
First step is to pull everything out of the garage. I know this looked crazy and people were driving by my house peeking at my goods laying on the front lawn. In all fairness, I think they thought I was having a garage sale… but I digress.
Once everything is cleared out you can start to see what you want to keep and what you want to get rid of.
Step 2: Organize like items together and assess the storage sitch
After looking at all the items you can start to see what storage materials you might need. We were gifted some heavy duty old-store shelves, so we hung another set of those for heavier items.
Then we went to Lowes and purchased some storage cabinets to house some of our most used items.
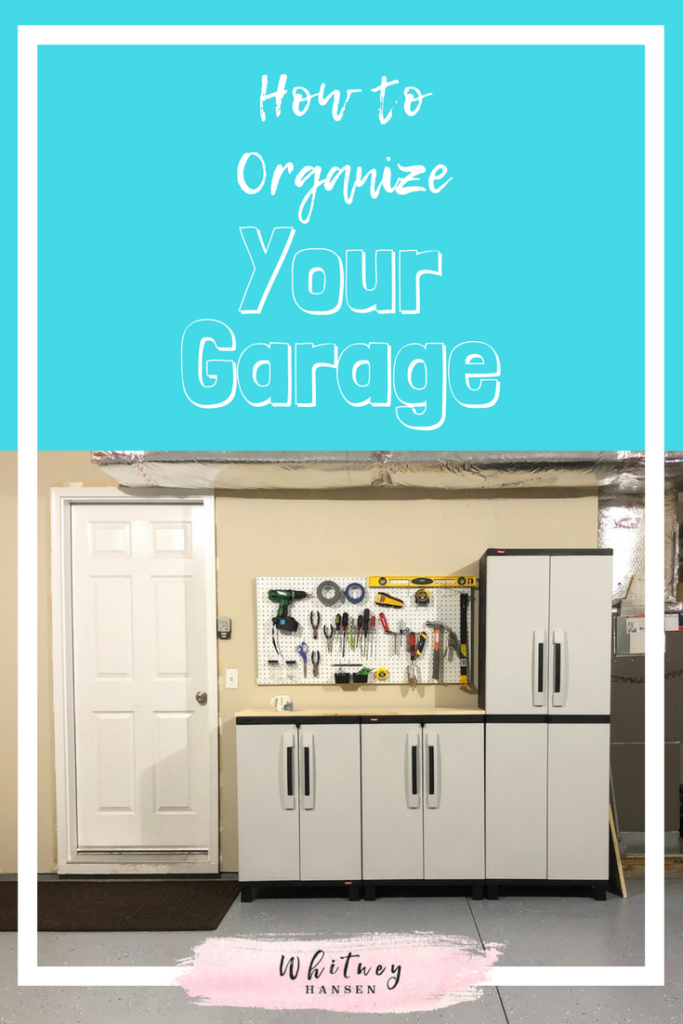
I have been dying to have a workbench for my DIY/craft projects, so we picked up two smaller storage cabinets that would function as the base of my workbench and a larger matching cabinet for additional storage.
And of course, we have to get a pegboard for the most commonly used tools above the workbench.
Cabinets: $203
Pegboard: $6
Pegboard Kit: $12
White Spray Paint for Peg Board: $5
Containers for inside cabinets: $12 (From Dollar Tree)
Step 3: Epoxy Floor Coating (Optional)
Since I moved in the house in 2008 I always wanted epoxy floor coating in the garage. I love the look of it, and the durability is so good. Then once my house became a rental, some of the tenant’s car leaked oil in my garage.
The concrete was looking pretty crappy. With all the stuff out of the garage and on my lawn, it was a good time to do the flooring. The epoxy flooring will be in a separate video, but word of advice, you will spend 90% of your time and energy getting the floor prepped for painting. It isn’t difficult but does require some patience.
Epoxy Floor Kit: $109
Step 4: Bring everything back in and organize
This part wasn’t too bad. With all the additional shelving and storage cabinets I’m finding that we don’t need that much space anymore.
However, everything is neatly organized and has a very specific space. My lawn care items are all grouped together, my painting supplies are in the cabinet, and my camping gear is taking up it’s own shelf.
I really am enjoying it.
Tony and I agreed that while this project took a solid 3 days, it was wellllll worth it, especially the floor.
It feels so much better to open my garage and see the tidy space. And I can’t wait to get the complement from neighbors. (True story!)
This project turned out much better than I anticipated and I am so glad we did it!
Have you been meaning to organize your garage? Comment below and let me know!

