I recently had a moment with my life.
It all started on Friday afternoon when I was doing the dishes.
Now, normally dishes are uneventful. But not today. I was frustrated that I was doing tons of dishes every. single. day. (There are 3 people in my home).
So of course, this sparked a thought.
“Why the f*ck do I have so many dishes for just three people?”
Which sparked another thought.
“I need to organize stat!”
Yep, this sad, border-line pathetic moment in my kitchen set me in motion for a total lifestyle overhaul embracing minimalism.
This is part one of a five part series where each week I’ll take on through one area of my home and show you how I’m organizing and decluttering my space by getting rid of things that are no longer serving me.
We are starting with…
The Kitchen
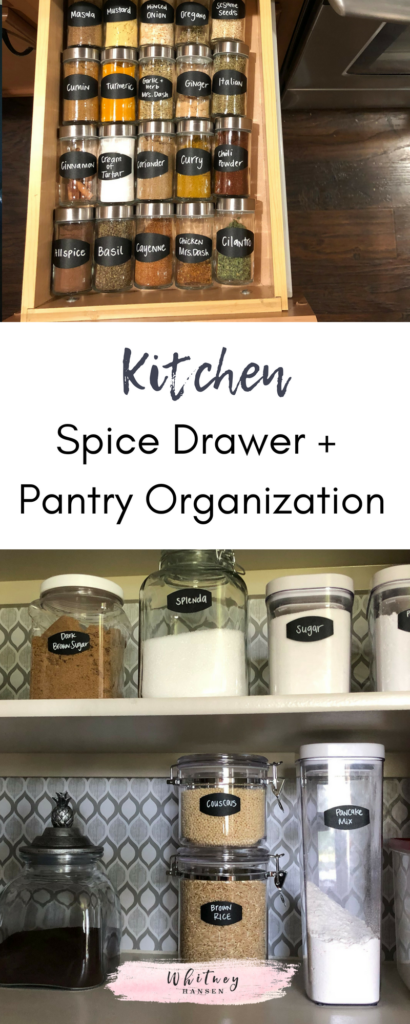
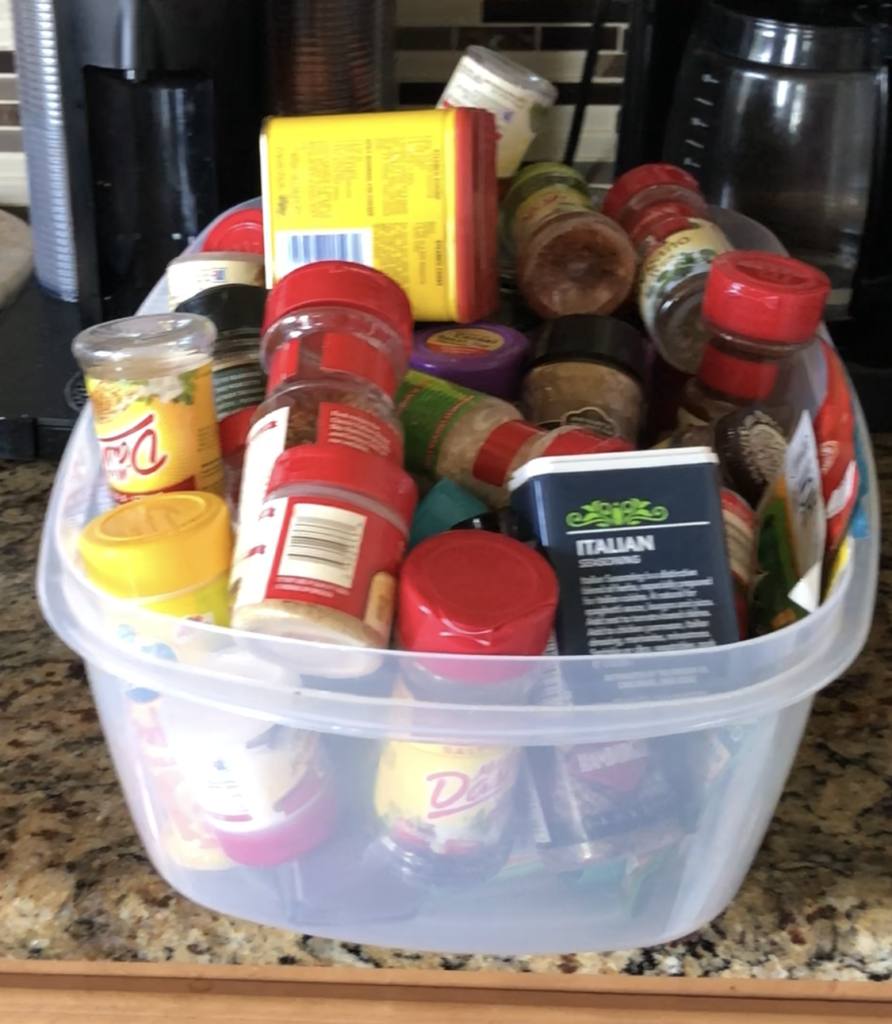
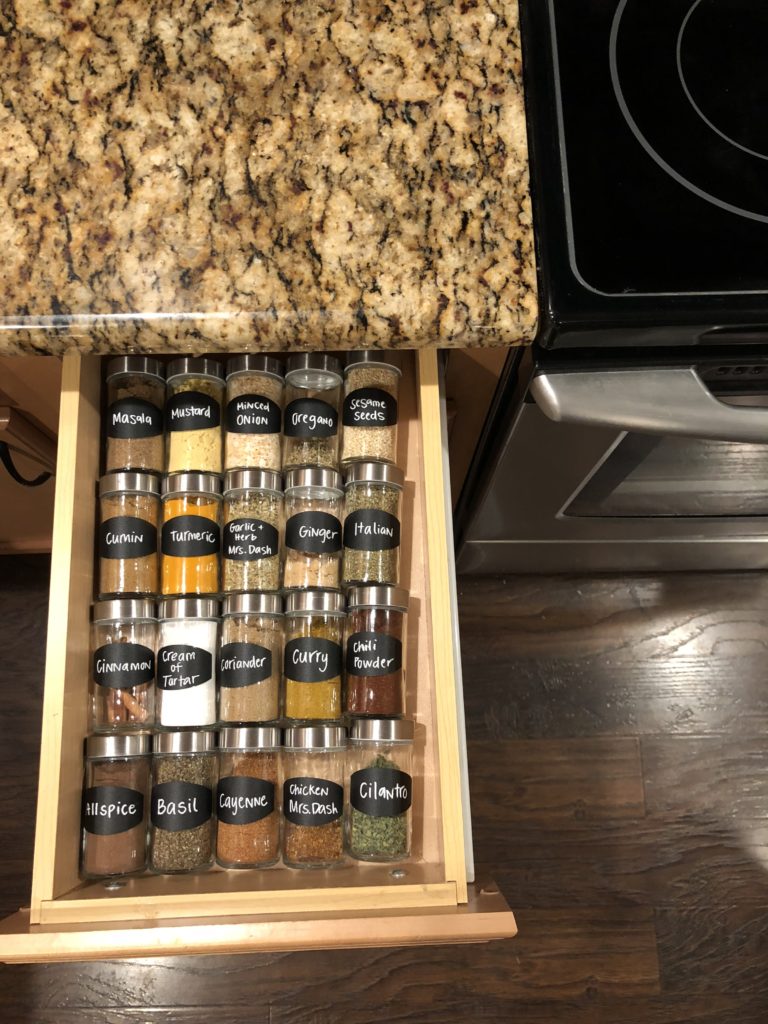
Step 1: The Spice Drawer
My spices were a mess. I kept all of them in a giant plastic bin and sorted through for about a million years to get it organized. Pain in da butt! I started here because it gave me a quick win. (See before spice drawer picture below.)
To do this correctly, order the supplies online. Trust me on this one. I was impatient and paid double what I needed to for the glass spice jars.
Here are the ones I would have gotten if I wasn’t being a whiner…
♥ 14 Spice Jar Bottles + Chalkboard Labels + Chalkboard Marker + Funnel
This took about a solid 30 minutes of actual work time to transfer the spices from old jars to new jars. If you would like you can also get a drawer insert to make it look built in and customized, but I will partake in that purchase when I am done licking my financial wounds from being impatient. (I paid double what I should have guys!)
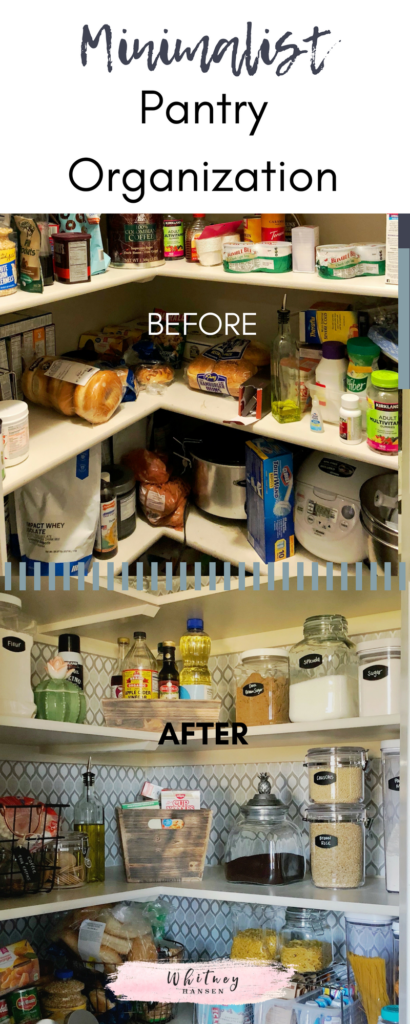
Step 2: The Pantry
The pantry by far took me the most time. It was a lot more work than I expected, but definitely made the biggest difference.

BEFORE: I don’t know how I found anything!
Start by taking everything out of your pantry and put it on the counter.
My pantry is pretty small, so I decided to put all the spices in the drawer to free up space. I also went through all my food and found that (no surprise) a lot of the food was expired. So after purging expired food and transferring food into air-tight storage containers and organizing the flow of the pantry, I was super happy with the results.
On the back walls of the pantry, I placed contact paper. Contact paper is not quite as durable as wall paper, but much easier to handle and less damaging to the walls. It is also very cost effective. I used 3 rolls of contact paper.
Here are the links to everything I personally used (or really similar options):
♥︎ Storage Containers
♥︎ Succulent Jar (Closest I could find to mine- I purchased at Ross)
♥︎ Contact Paper (on pantry walls)

AFTER: Organized and intentional.

Close up of some of the organization. Top row is all my sweeteners, bottom row is carbs and coffee.
Step 3: The Cabinets
My cabinets were a little bloated with glassware, coffee mugs (I have a problem), and just basic organization.
For example, my mixing bowls were on the top shelf… I’m 5’2, and my mason jars (which I barely use) were on the bottom shelf. Just by putting the mason jars on the top shelf and the bowls on the middle shelf, it already became more practical.
I’m also a big fan of plain white dishes. I think they look clean and provide a uniform aesthetic. I did have one plate that was cracked, so I got rid of that one and purchased a new plate. That was the only cost associated with the cabinets.
Here is one of my cabinets now that it is organized with intentionality.

Items that you don’t use as often belong on the top shelf.
That’s it for week 1. Give yourself a lot more time than you think you need to get this organized. It took me forever because I had to make extra trips to the store and wasn’t sure what else I needed.
But using this post as a guide, you should have a better idea of what you need and what you are looking for when you organize your kitchen.
If you would like to remember this post, pin the image below on Pinterest.