I’ve always had a goal of making $100K a year off of unique short-term rentals. I believe that unique, quirky, properties are more recession-proof, interesting, and a totally fun experience for guests— and have a higher ROI.
In 2020 my partner and I bought a 1-acre piece of property for $35,000 in the mountains of Idaho.
Thought we would build a small modern cabin and ran into our first real issue- utilities.
Utilities are very expensive.
What is a geodesic glamping dome?
A geodesic glamping dome refers to a dome-shaped tent or shelter that is typically used for outdoor camping and is designed with this unique geometric structure. These domes are made from lightweight, durable materials and offer a unique camping experience with their spherical shape and ample headroom.
So we got to work planning our geodome glamping site.
To give you the context of this process, I’m going to share each phase of the project for us.
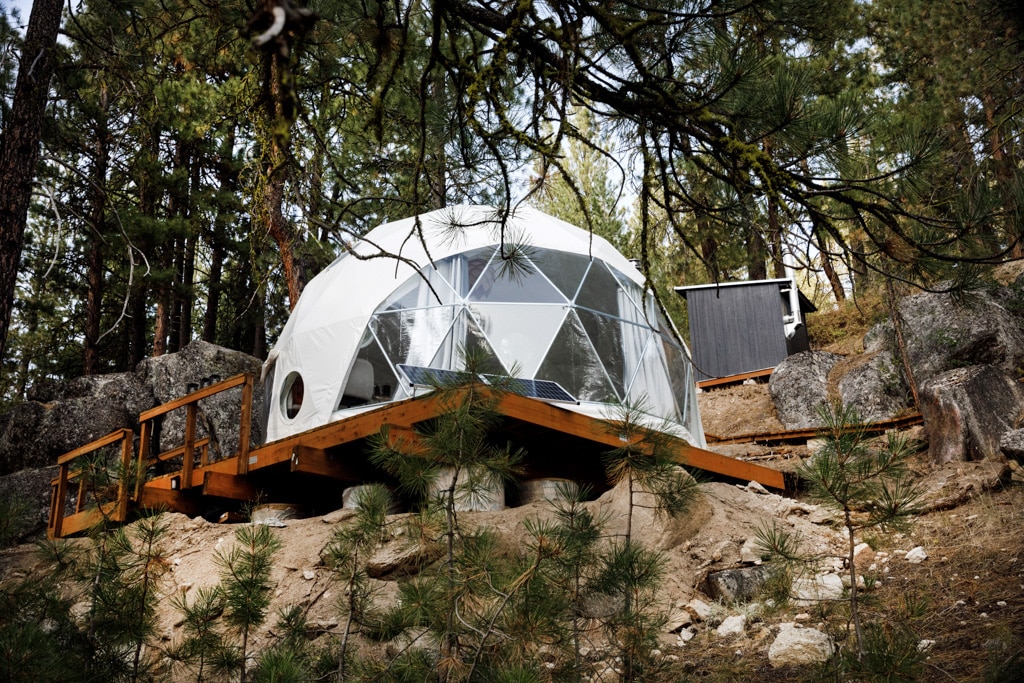
https://airbnb.com/h/cascadedome
Phase 1: Planning and Patience
I created an entire video specifically discussing the process we used to set a budget, options for financing a glamping site, how I ran the numbers to see if this would be a good investment, and some of the logistics we went through during this phase.
Our project took us 1.5 year to complete, mostly due to being snowed out, waiting for engineering documents to come back, and only being able to build only weekends. Our property is 2 hours away from our house, so we spent 8 hours each weekend commuting back and forth. It was a bit tiring to do this on top of our full-time jobs, but hey– that’s what we signed up for!
Phase 2: Permitting, Engineering
Our geodome needed to sit on a strong, engineered foundation. We initially thought the dome would sit 5-10 feet off the ground on stilts, but we quickly realized that the higher off the ground you go, the more expensive it becomes. We ended up working with 2 structural engineers. The first quoted a 3-4 week turnaround time, it ended up taking 8 weeks.
During the 8 weeks, you aren’t able to move forward on the project, which is a huge bummer. That winter we reached out to another engineer to see if there was a way to adjust the plans to be closer to the ground AND a bit more cost effective.
Those plans then needed to be turned into the county for our permitting process.
Phase 3: Building
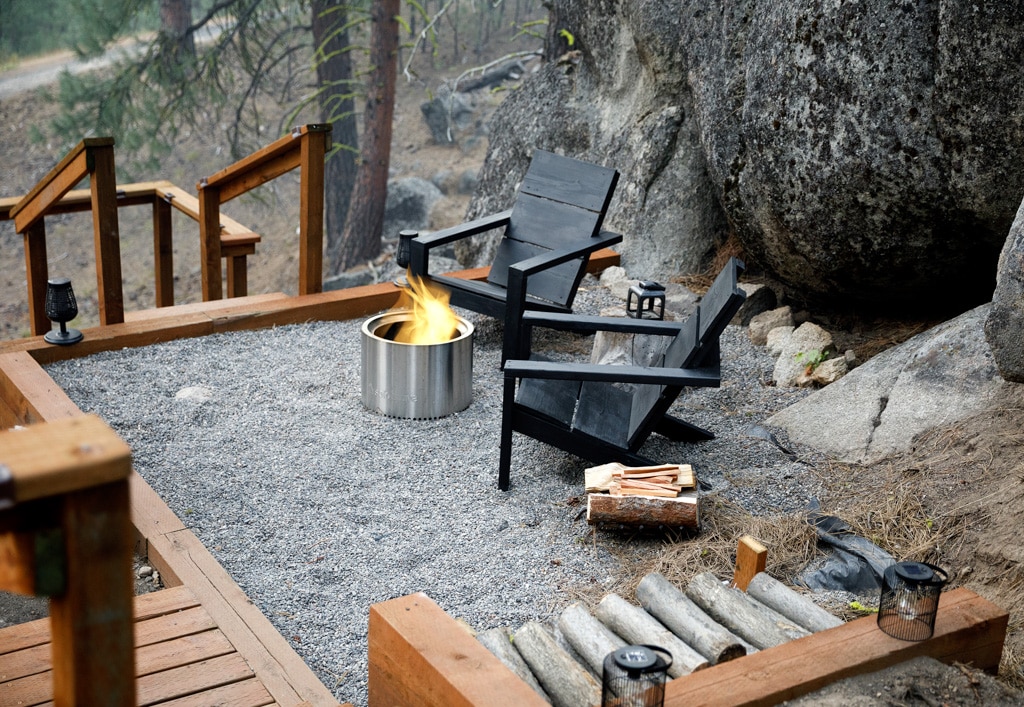
Because our lot is on a sloped mountainside, we had to get creative with accessibility. We opted for lots of stairs, walkways, and decks to make the property safe to access and look like an adventure. We even built a cozy firepit area nestled into massive granite boulders.
While we waited for our engineering documents to come back we built a sauna. This little sauna is awesome! It has a wood burning stove, a small space to change and essential oils to add to the water.
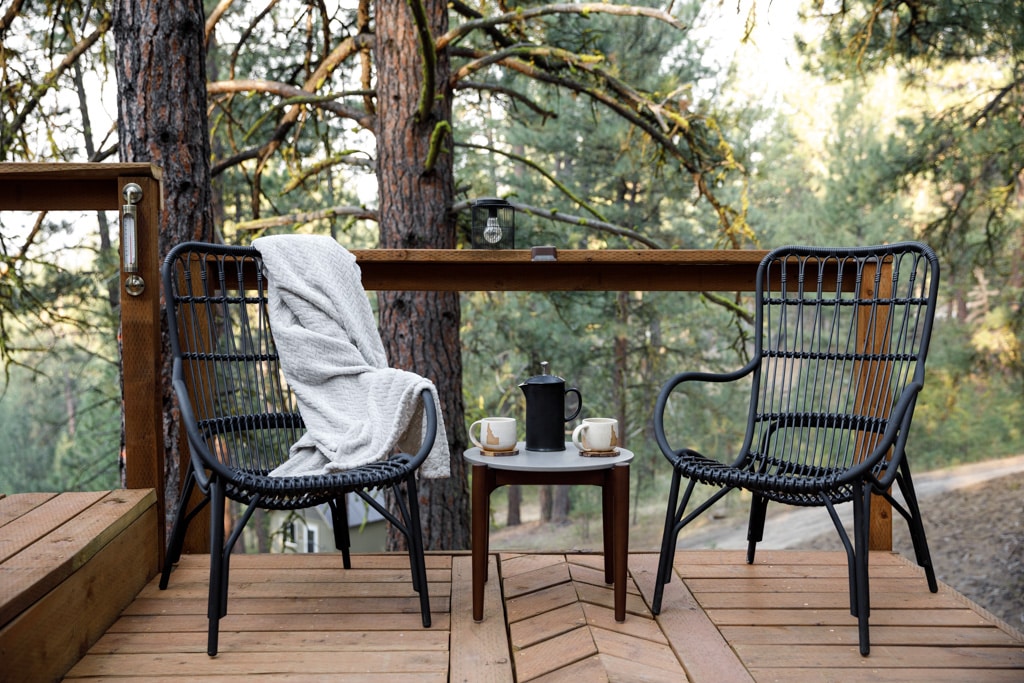
My favorite feature is the chevron deck. I saw this on Pinterest and tried to recreate it to the best of my ability. It took a bit to create plans and figure out how to make it work, but it was well worth the effort.
Phase 4: Setting up the geodesic dome
The geodome itself went up quickly, but I wouldn’t say easily. We had to build an additional platform and insulate the heck out of it so that it helps a bit with heat loss. Once that was completed, the metal frame (struts) were assembled. It took a lot of organization with the pieces and a very specific order of operation for assemblying them together.
Once the frame was completed, we were ready to add on the cover. The cover was very heavy and required 4-5 of us to hoist it up and over the 11 foot peak.
We opted for the insulation liner for our geodesic dome, and I can honestly say that it was 100% worth it. Even with the liner the dome gets very hot in the summer and very cold in the winter, but without the insulation liner, the temperature swings are much worse. Installing the insulation was like putting on the worst duvet cover ever.
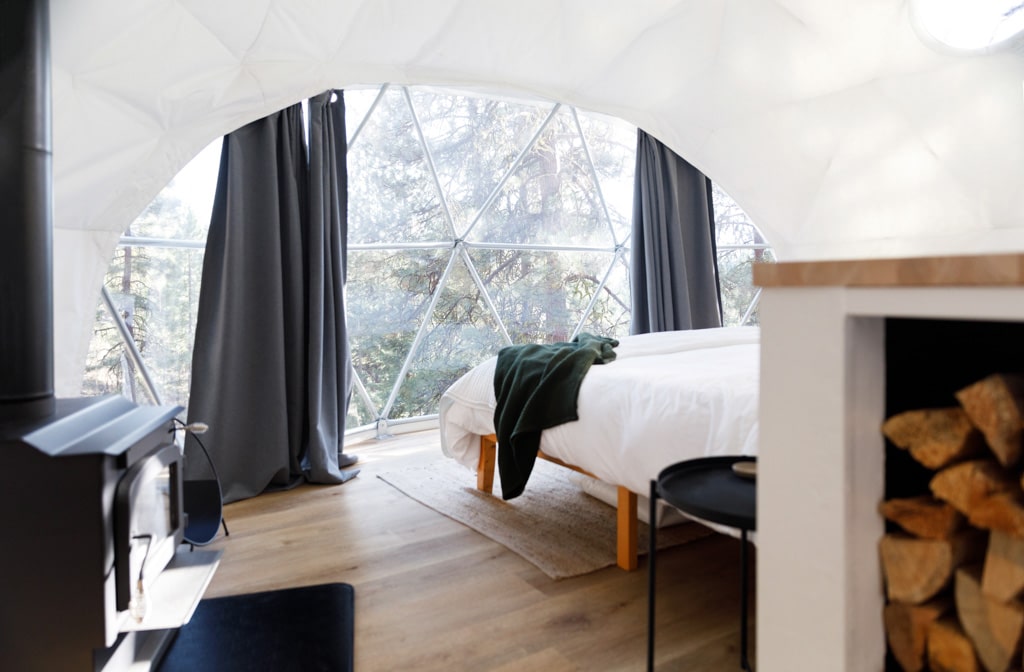
The last piece of setting up our dome was the interior. We opted for a king size bed, wood stove, small dining table, and an oversized counter/island.
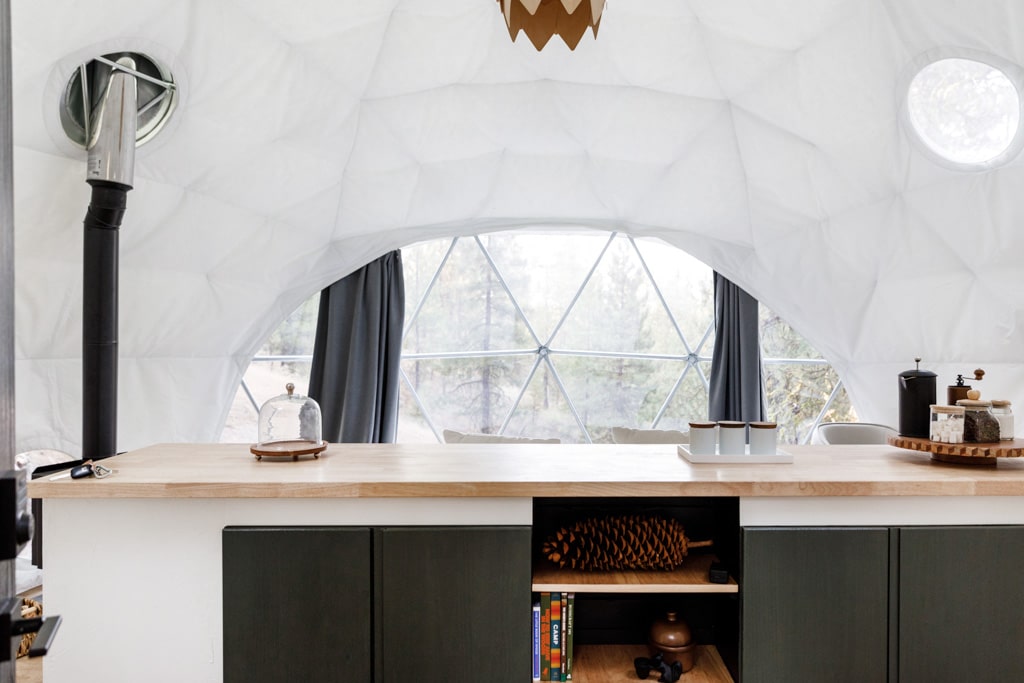
Phase 5: Running the glamping business
There’s a lot that goes into running an Airbnb glamping business. The pieces of running the business that are important for our mountain property are:
- Marketing: building up an Instagram, reaching out to local influencers, and generating our own email list.
- Caretaker: this is the person who is our main point of contact, eyes and ears for the property and does the turnovers in between guests
- Snow maintenance: our road needs to be privately plowed and pathways/decks shoveled
- Guest communication: setting proper expectation has been key for us. Our glamping dome isn’t for everyone and we do our best to make that clear in our listing description and when communicating with our guests as they prepare for their trip
- Bookkeeping: currently we use a Google Sheet to track all of your income and expenses, but will likely switch to Quickbooks at some point to simplify the process
So what’s next?
We are working on another unique property and learning how to be the best hosts we can be.
If you’re in the Idaho area and would like to come stay at the dome, head over to Airbnb or CascadeDome.com to learn more. ☺️

That for the great post. I was wondering if you wouldn’t mind sharing the cost for your glamping dome and the year it was build so we can factor in inflation? We would love to achieve what you guys have managed to do but want to be realistic with finances. Thanks again for the great post.
I’m not quite sure what the dome price point is now– but I purchased ours in 2021. Cheering you on!