
Want to hear a little secret?
I am a closet handy woman. Seriously, last year we remodeled my home and did 99% of the work (I can’t cut granite- yet). I love it! A few months ago I decided to remodel my office. The kitchen table wasn’t cutting it anymore. So, Tony built a custom desk and I got to work on my art piece wood plank wall. (I’ll post the how-to on the closet reading nook at a later date.)
Here’s how it turned out. <3 (I did not do the entire wall, only a small section to function as an art-piece.)
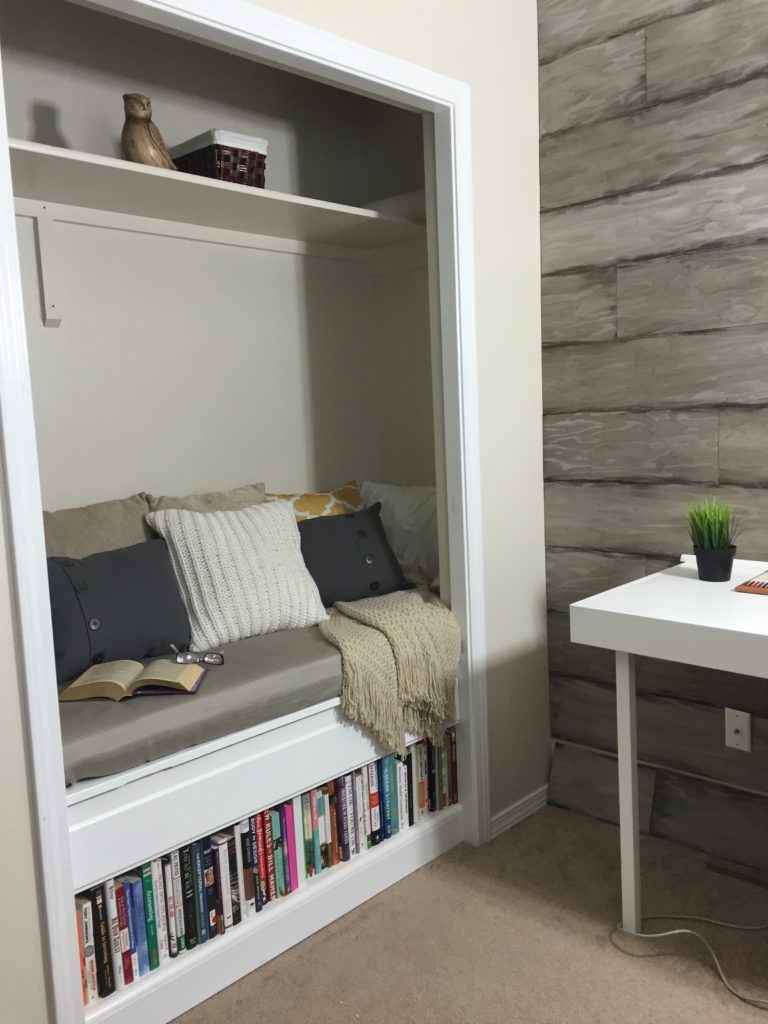
The weather plank look was actually really easy to do. The best part? Total project cost: ~ $50
I’m going to walk you through how to create your own version of the wood panel wall.
MATERIALS
- Large Sheet of Plywood: ask to have it cut into 6-8 inch strips
- Dark Walnut Woodstain: I used a small sample jar
- 1 Box of Wood Panel Nails
- 1 Sample Size White Paint Jar
- 2 Paint Brushes
- And of course, a table saw, hammer, measuring tape and…. coffee!
WHAT TO DO
Step 1: Get your materials
Go to Lowes and get all your materials. While you are there, have a large piece of plywood cut into 6-8 inch strips (you’ll thank me for this one later).
Step 2: Brush dark stain on plywood
Wipe the plywood off with a dry rag to remove all the sawdust. Then take a brush and start putting a fairly amount of stain on the board, getting the edges and moving pretty quickly. Let the stain sit for a few minutes while you work on the next plank. When you are done staining the second plank, go back to the first one and wipe off any additional stain with a rag. (Plywood absorbs the stain pretty quickly.)
Step 3: White wash (not the uncomfortable snow kind)
You can buy white wash, or make your own. If you decide to make your own (my recommendation), take a paint holder and add a bit of white paint in there. Mix paint with water. The mixture should look similar to milk…so don’t be afraid to add more water than you would expect. (Maybe a 1:3 ratio?) Brush the white wash over the top of the wood planks. Push the whitewash into the wood grain with a dry brush and put the plank aside. Let completed planks dry overnight.
Step 4: Cut the boards and hang on wall
To get a great look, stagger the boards by cutting every other board in half. Remember, I only did part of my wall as an accent piece, so if you are doing the whole wall make sure you keep your pattern similar. Nail into wall with wood panel nails (small ones) and then you are done!
I hope you enjoy this wall as much as I love mine! It really brought my office to life and gave it a ton of character—on a real tight budget.
Happy homemaking!

PS. Let me know if you enjoy this post. I’m constantly doing budget home improvements and would be happy to share more. 🙂
I love this!!!! I’m in the process of purchasing a home that I’ll be doing some work to. I’d love to see more vids! Thanks Whitney.
Nita, I’m so excited to see your pictures. I know you and the fiancé will make your home beautiful! I’ll definitely do more home-improvement videos. They are a blast!